ENGINE REMOVAL
|
There comes a time when it's necessary to do some work on the Bantam engine.
Perhaps the crankcase oil seals need replacing or a new set of main bearing are required. However, it's a good engine to work on, so let's start with getting it out of the frame. |
1 Remove exhaust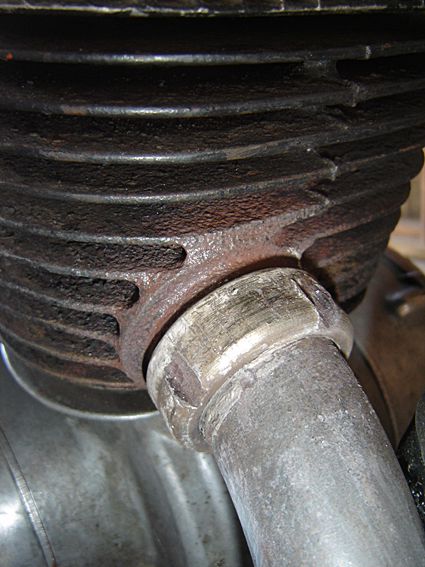
Undo the slotted exhaust pipe nut with a C spanner if you have one.
If not, it's a hammer and drift job, tapping gently anti-clockwise. Discard the copper sealing ring (90-3002) |
You'll need to buy a new set of gaskets and the copper ring will be included.
Next undo the nut and bolt holding the exhaust to the off-side pillion foot-peg bracket 90-4291). 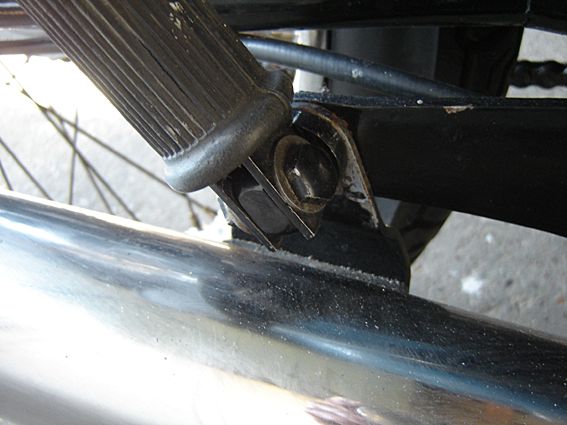
|
It's best to remove the off-side front foot-peg assembly as well, as it makes for an easier removal of the complete exhaust pipe and silencer from the bike.
There is no need to split the exhaust assembly. Now stack the exhaust in a corner of your workshop (or shed) and get ready to remove the chainguard. |
2 Chainguard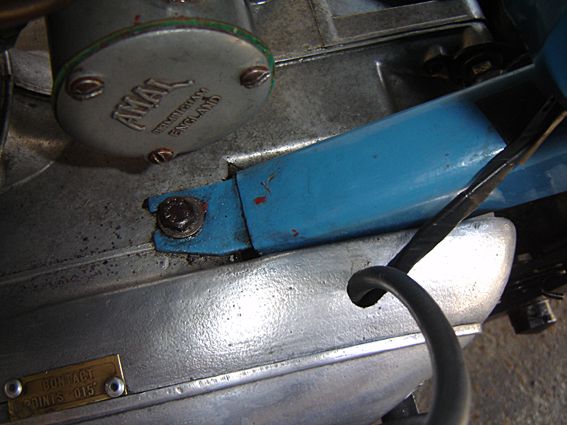
Undo bolt holding front of chainguard to left-hand crankcase.
Then undo the nut and bolt holding the chainguard bracket to the rear mudguard. This is a bit fiddly as the nut is on the inside of the back mudguard, but it can be done without removing the rear wheel - I've done it! I usually insert a ring spanner between the rear tyre and mudguard! |
Finally, there's a small screw holding the bottom of the nearside toolbox cover to the chainguard - undo this also.
Now ease the chainguard out to the rear, lifting it slightly. You may find it easier to slacken or remove the nearside shock absorber.
|
3 Remove chain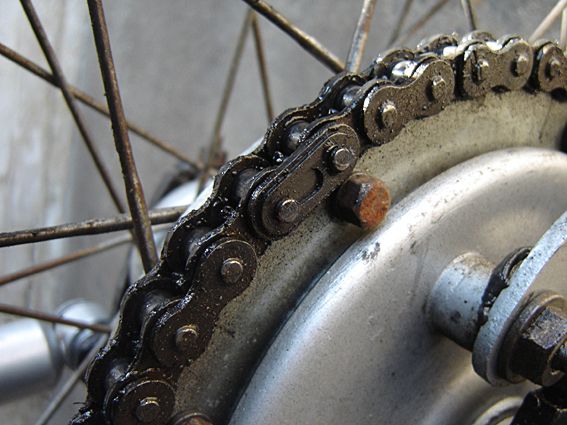
Firstly, turn the back wheel to locate the spring link (the closed end always faces direction of travel!)
With the flat of a screwdriver push forward to spring the locking clip open, then remove the link and place in a safe place! |
Next, place an old cloth on the ground under the chain and gently ease the chain out of the rear of the engine (turning the sprocket helps).
Rather messy, this! Guide the top run of the chain around the drive sprocket and continue pulling until it all drops out. Catching the chain on the cloth prevents a lot of damaging grit attaching itself to the oily chain. Watch out for that spring link you laid down ...! (Best to re-attach it to the chain!) Get the hand-cleanser now, I think! |
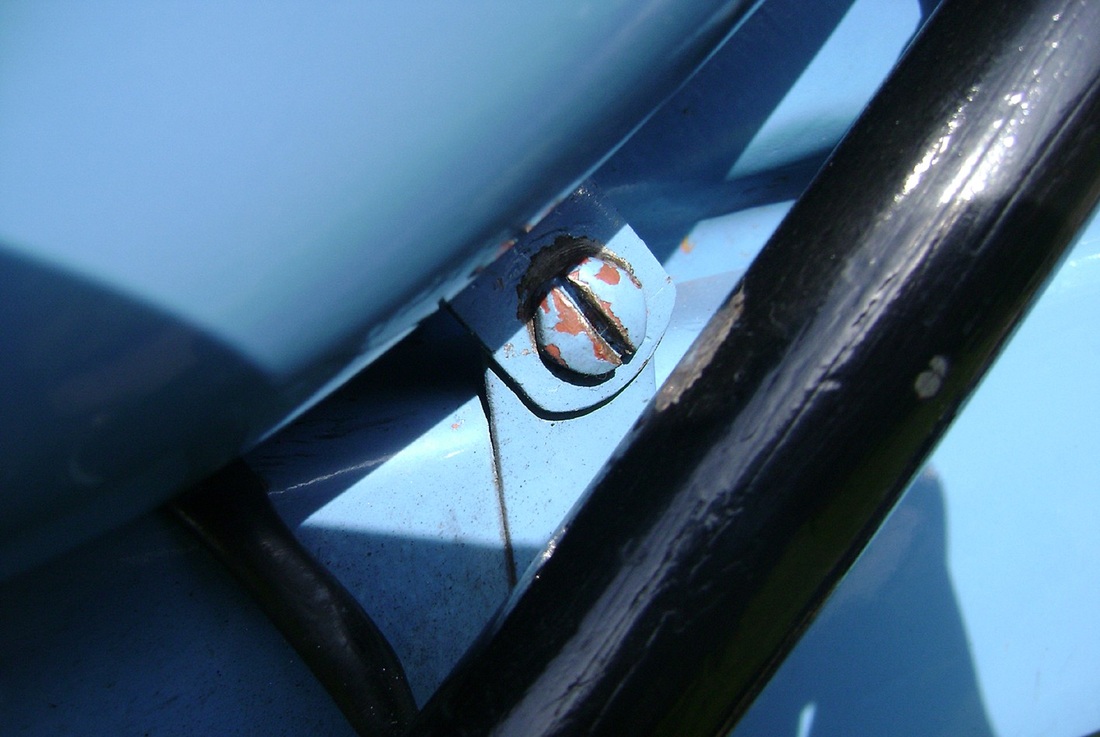
4 Drain gearbox oil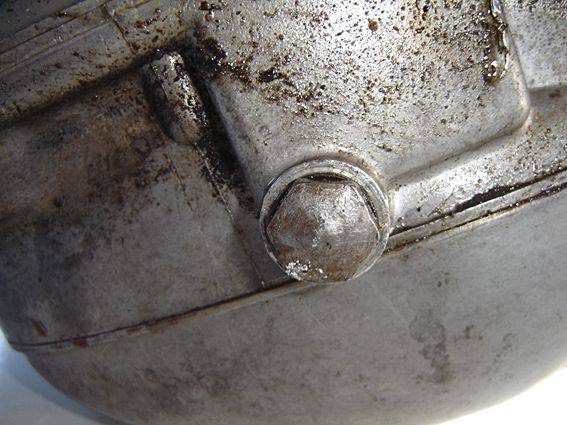
Before going any further it's time to drain the oil from the gearbox.
Do it now rather than waiting for the engine to be out of the frame and on your workbench! |
You can see the large bolt in the picture above, it's on the right-hand side of the lower crankcase.
Place a good-sized metal tray underneath, undo the nut with a spanner, then use your fingers - but do try not to let the oil trickle down your wrist! While it's dribbling out, go and wash your hands again and have a cup of coffee (or tea, if you prefer it!). |
5 Disconnect fuel
Now to disconnect the fuel supply. Turn the fuel tap to the off position, then undo the screw of the banjo union on top of the float chamber. Tie the petrol pipe and banjo well out of the way.
|
Then undo the knurled ring on top of the carburettor, lift out the throttle needle slide assembly and tie that out of the way as well.
Of course, you may feel like removing the petrol tank as well, but I never do! It's up to you, though...! 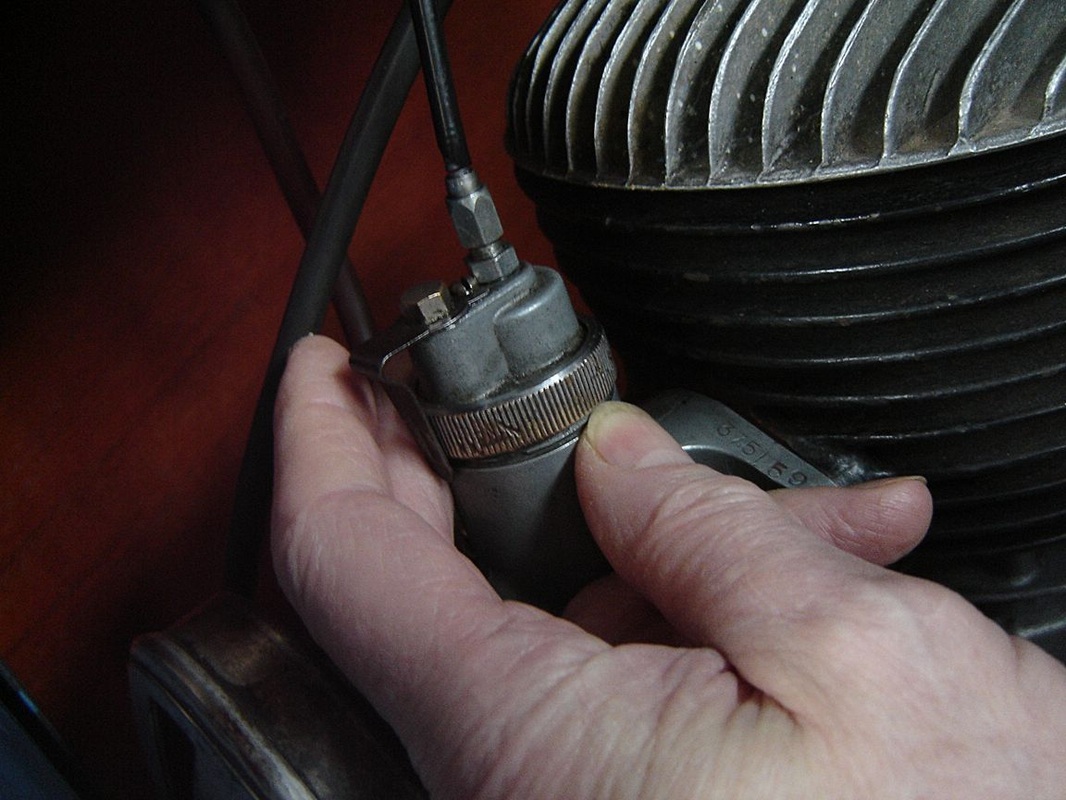
|
6 Remove cables
The clutch cable must be removed before the engine may be lifted out of the frame, but this can be tricky working from underneath. You may find it easier to remove it from the clutch lever on the handlebar end.
|
Before going any further, don't forget to disconnect the battery and also the electrics from the magneto.
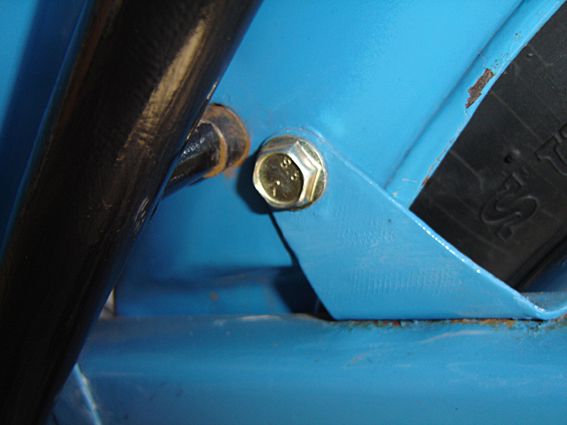
7 Remove all bolts
Loosen the front engine mounting bolts holding it in the frame, followed by the rear bolts.
|

The rear engine mounting bolts and plates are quite fiddly, so a bit of patience is called for here, especially with the lower two bolts!
The very best of luck with that! |
Push out the bolts, then, maybe with some help, give a quick lift and the engine will come out from the right-hand side.
And here's one I did earlier! Now, where did I leave that engine? 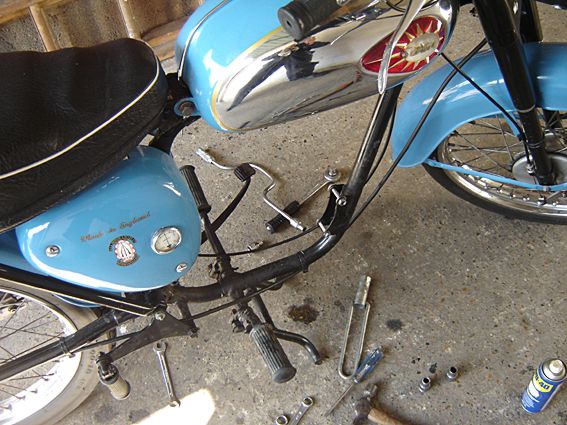
|
